[vc_row][vc_column][vc_column_text]Replacing your HVAC (Heating, Ventilation, and Air Conditioning) unit is a significant investment that can enhance comfort, improve energy efficiency, and increase the value of your home. However, the process can seem daunting if you need clarification on what to expect. In this article, we’ll guide you through the steps in replacing your HVAC unit, from preparation to completion.
- Assessment and Planning:
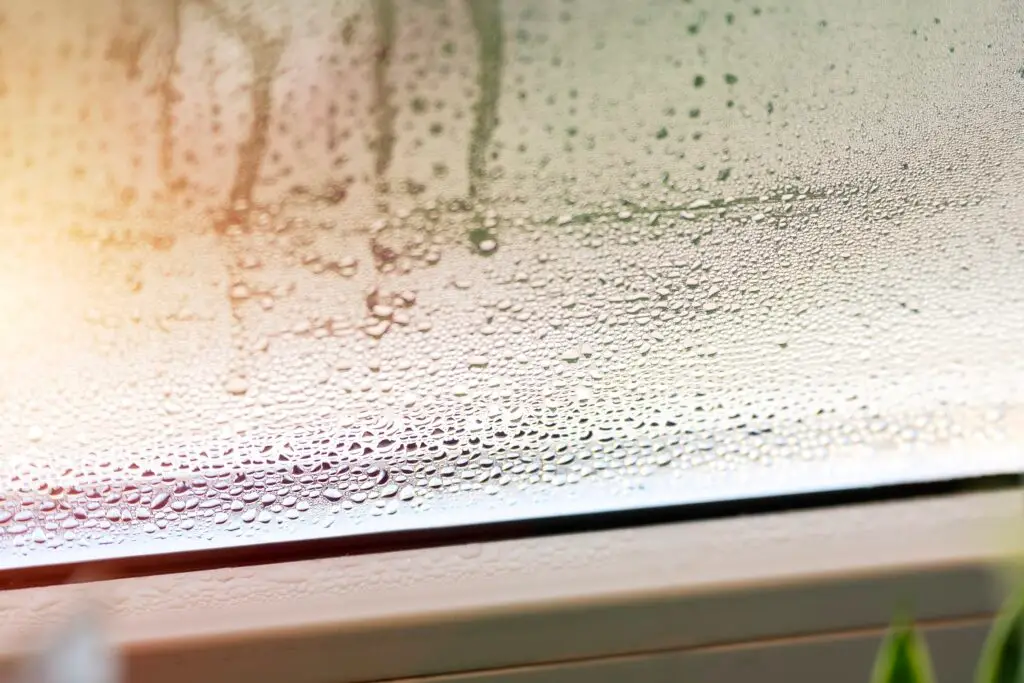
Before replacing your HVAC unit, a professional HVAC technician will thoroughly assess your existing system and your home’s heating and cooling needs. They will consider factors such as the size of your home, insulation levels, ductwork condition, and local climate to determine the appropriate size and type of HVAC unit for optimal performance.
- Choosing the Right Unit:
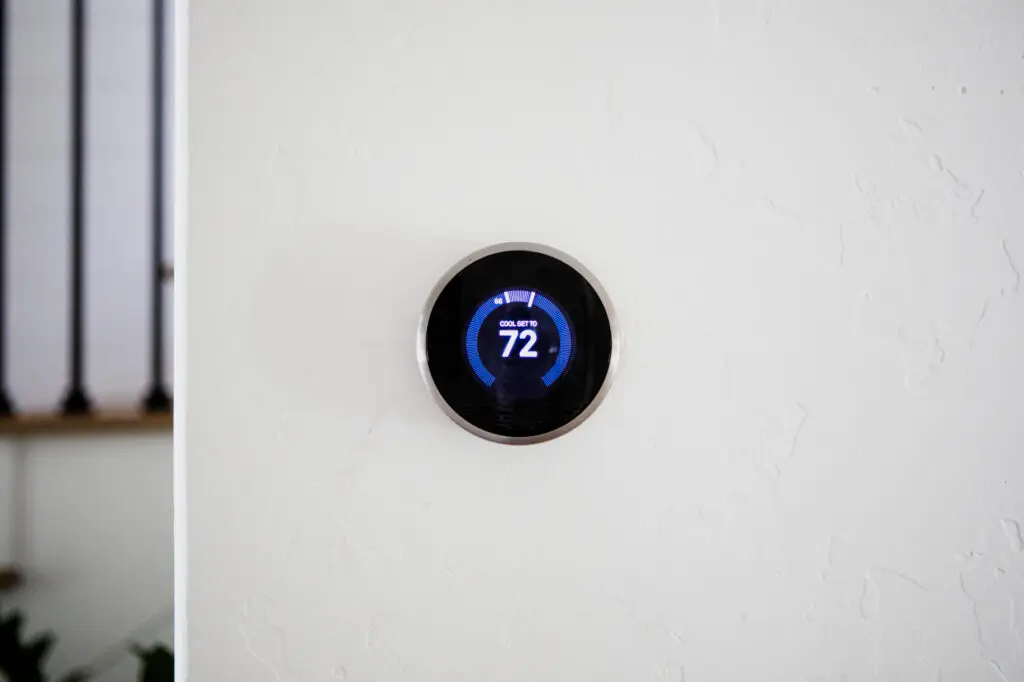
Based on the assessment, the HVAC technician will recommend options for a new HVAC unit that meets your requirements and budget. Consider factors like energy efficiency ratings (SEER for air conditioners, AFUE for furnaces), warranty coverage, and additional features like variable-speed motors or programmable thermostats. Work with your technician to select the best unit for your home.
- Scheduling and Preparation:
Once you’ve chosen a new HVAC unit, the installation process will be scheduled conveniently. Before installation day, clear the area around your existing HVAC unit for easy access. You may also need to make arrangements for pets or children to ensure their safety during installation.
- Removal of Old Unit:
On the installation day, the HVAC technicians will begin by disconnecting and removing your old HVAC unit. This typically involves shutting off power to the unit, disconnecting electrical and plumbing connections, and safely removing the unit from your home. Proper disposal or recycling of the old unit will also be arranged.
- Installation of New Unit:
After removing the old unit, the technicians will proceed with installing the new HVAC unit. This involves positioning the unit in the designated location, connecting electrical and plumbing components, and integrating it with your existing ductwork, thermostat, and ventilation system. The technicians will ensure that all connections are secure and that the unit is properly calibrated for optimal performance.
- Testing and Calibration:
Once the new HVAC unit is installed, the technicians will conduct thorough testing to ensure it functions correctly. They will check for proper airflow, temperature regulation, and system efficiency. At this stage, any adjustments or calibrations necessary to optimize performance will be made.
- Final Inspection and Cleanup:
After complete testing, the technicians will perform a final inspection to verify that the installation meets industry standards and manufacturer specifications. They will also clean up any debris or materials from the installation process and ensure that your home is left in the same condition as before the installation.
- Instruction and Maintenance Tips:
Before leaving, the HVAC technicians will instruct you on how to operate your new HVAC unit and any maintenance tasks you may need to perform. They may also recommend scheduling regular maintenance to keep your unit running efficiently and prolong its lifespan.
In conclusion, replacing your HVAC unit involves several steps, from assessment and planning to installation and testing. By understanding the process and working with qualified HVAC professionals, you can ensure a smooth and successful replacement that enhances comfort, efficiency, and reliability in your home. [/vc_column_text][/vc_column][/vc_row]